
In the demanding industrial environments of South Africa, a high-quality safety boot is a significant investment. Whether your workforce is trudging through the highly acidic mud of a platinum mine, navigating the jagged rubble of a civil construction site, or walking kilometers across a scorching hot agricultural expanse, their footwear takes a relentless beating.
For procurement managers and site operators, the annual cost of replacing Personal Protective Equipment (PPE) is a massive budget line item. All too often, companies find themselves replacing safety boots every four to six months, assuming this rapid deterioration is just the “cost of doing business.”
It isn’t. The primary reason safety footwear fails prematurely is not usually poor manufacturing; it is a complete lack of post-shift maintenance.
By implementing a standardized boot maintenance schedule, companies can comfortably double the lifespan of their protective footwear. This utility guide provides a highly practical, step-by-step cleaning and storage routine designed to dramatically reduce your annual replacement costs while keeping your workforce safe and compliant.
The Financial and Safety Cost of Neglect
Before outlining the maintenance schedule, it is vital to understand exactly how neglect destroys a boot.
Modern safety boots are complex pieces of engineering, combining full-grain leathers, synthetic waterproof membranes, impact-absorbing polyurethane (PU) midsoles, and specialized rubber outsoles.
- Mud and Dust: When wet mud is left to dry on a leather boot, it acts like a sponge, drawing out the natural oils embedded in the hide. Over time, the leather becomes brittle, shrinks, and cracks, permanently destroying the boot’s water resistance and structural integrity.
- Chemicals and Acids: Cement dust, petrochemicals, and fertilizers are highly corrosive. If left sitting on the boot overnight, they will eat away at the stitching and degrade the synthetic outsoles, leading to sole separation.
- Internal Moisture: The average human foot produces up to 200ml of sweat during a strenuous 10-hour shift. If that moisture is not properly dried out, it breeds bacteria that rot the interior linings and break down the internal stitching from the inside out.
Implementing a maintenance protocol protects the structural integrity of these materials, ensuring the boot performs exactly as engineered until its tread naturally wears out.
The Daily Maintenance Routine: The 3-Minute Rule
Boot maintenance should not be a laborious chore. Site managers should encourage workers to spend just three minutes at the end of their shift preparing their boots for the next day.
1. Proper Removal (Stop Kicking Them Off)
The fastest way to destroy the heel counter (the stiff cup at the back of the boot that provides ankle support) is by using one foot to step on the heel of the other boot to kick it off. This breaks the internal structure and leads to severe heel blisters. Workers must be trained to completely unlace their boots and pull them off by hand.
2. The Quick Brush Down
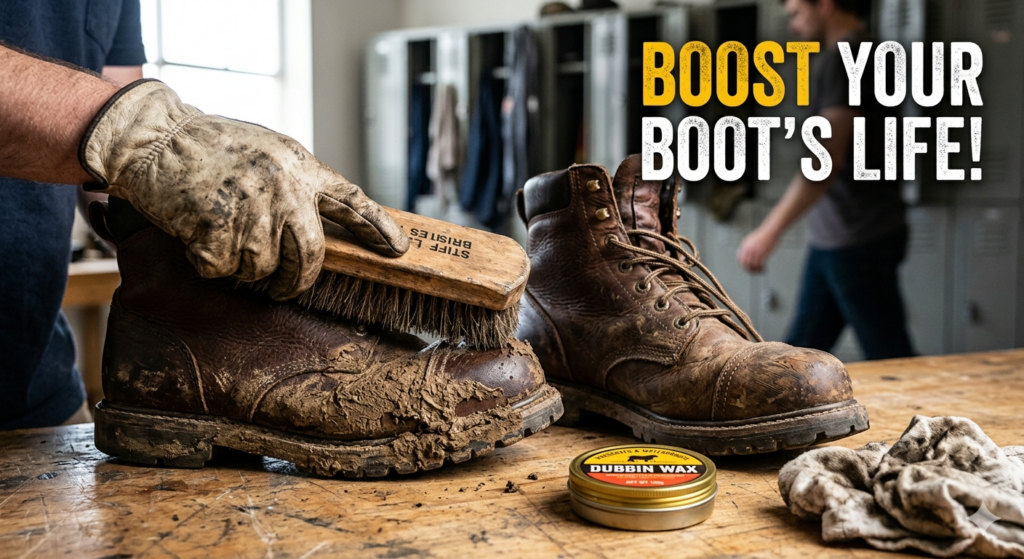
Before stepping into the site transport or locker room, workers should use a stiff-bristled brush (keep one stationed at the site exit) to vigorously brush off all loose dirt, dry mud, and chemical dust. If the mud is wet, a quick spray with a low-pressure hose (never a high-pressure washer, which forces water into the seams) will suffice.
3. Inspection
During the brush down, workers should perform a five-second visual inspection. Look for deep cuts in the leather, check that the sole is not peeling away from the upper, and ensure the steel or composite toe cap is not exposed. Catching a small issue early prevents a blowout on site the next day.
The Deep Clean: The Bi-Weekly Schedule
Every two weeks, safety boots require a deeper level of care to restore their protective properties. This is particularly crucial for workers in agriculture, mining, and concrete manufacturing.
Step 1: Wash with the Right Agents
Never use harsh industrial detergents, bleach, or degreasers on leather safety boots. These chemicals will instantly strip the leather of its protective oils. Instead, use a damp cloth with a mild, pH-neutral soap or a specialized leather cleaner to wipe down the exterior.
Step 2: Clear the Cleats
The slip-resistant properties of an outsole only work if the treads are clear. Use a blunt tool (like an old screwdriver or a stiff brush) to dig out compacted stones, mud, and debris from the deep cleats of the sole. A smooth, clogged sole is a massive slip hazard.
Step 3: Condition the Leather
Once the boot is clean and dry, it needs to be nourished. Apply a high-quality leather conditioner, dubbin, or specialized boot wax. Work the wax deeply into the leather, paying special attention to the flex points (where the toes bend) and the seams. This restores the leather’s suppleness, prevents cracking, and re-establishes its natural water resistance.
The Storage Solution: Drying Without Destroying
How a boot is stored overnight dictates how long it will survive. Poor drying techniques ruin more boots than harsh site conditions.
- Never Use Direct Heat: It is incredibly tempting for a worker working a wet winter shift in the Cape to place their soaked boots right in front of a space heater, next to a fire, or on top of a hot radiator. Do not do this. Direct, intense heat literally bakes the leather, causing it to crack instantly. It also melts the industrial glues holding the sole to the upper, guaranteeing catastrophic sole separation within a few days.
- The Air-Dry Method: Boots must be allowed to dry naturally at room temperature in a well-ventilated area.
- The Newspaper Trick: To accelerate drying from the inside out, remove the internal insoles and loosen the laces completely. Stuff the inside of the boot tightly with crumpled newspaper or dry paper towels. The paper acts as a desiccant, drawing the sweat and moisture out of the linings. Replace the paper after an hour if the boots are completely soaked.
When to Stop Maintaining and Start Replacing
Even with immaculate maintenance, no safety boot lasts forever. Recognizing when a boot is dead is a critical safety skill. You cannot repair a compromised safety feature. It is time to replace the footwear if you observe:
- Exposed Toe Caps: If the leather covering the steel or composite toe has worn through entirely, the boot is legally non-compliant and must be discarded.
- Tread Wear: If the heavily cleated outsole has worn smooth in high-friction areas (like the heel or the ball of the foot), the slip resistance is gone.
- Impact Damage: If a heavy object has dropped on the steel toe and dented it, the cap is structurally compromised. Even if it looks minor, the boot has done its job and must be replaced immediately.
If your site inspections reveal that your current inventory has reached the end of its safe operational life, or if you need to stock up on replacement insoles and durable laces, you can browse our comprehensive range of compliant Safety Footwear to find the perfect replacement pairs tailored to your site’s hazards.
Conclusion
PPE maintenance is not just about keeping up appearances; it is a hard-nosed, cost-saving procurement strategy. By training your workforce to respect their gear and providing them with the basic tools to execute a daily brush-down and a bi-weekly deep clean, you can drastically reduce the frequency of your PPE orders. Doubling the lifespan of your safety boots means halving your footwear budget, freeing up capital to invest in other critical areas of your occupational health and safety program.